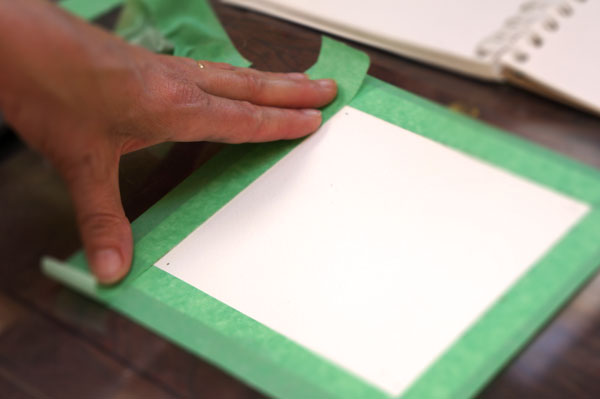
First tape down some painter’s tape to give yourself a defined area. The paper I am using is Arches cold-pressed, 140lb.
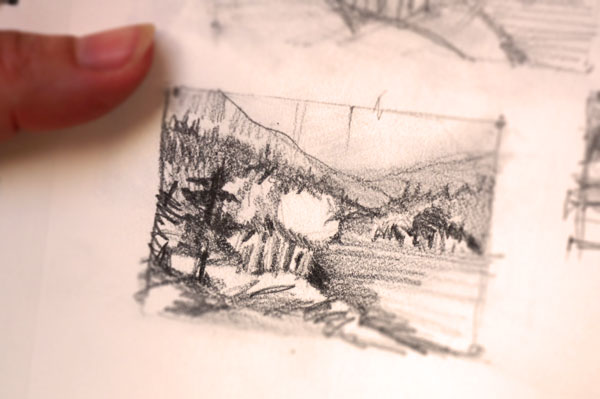
Here is a thumbnail sketch I did from memory. We will use it for the demo. Thumbnail sketches are great for capturing the main elements quickly.
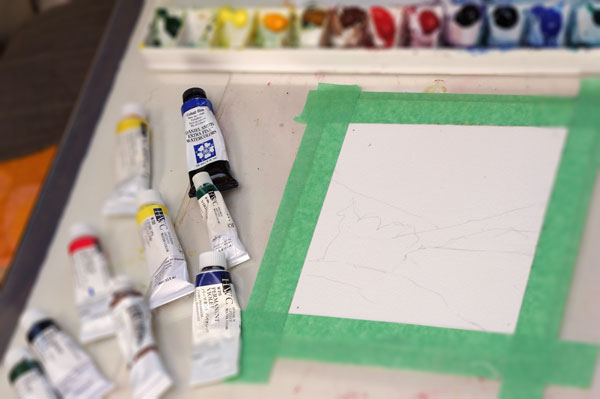
Now I have loosely pencilled in my sketch. Squirt out a little paint. The colors in my palette are: sap green, lemon yellow, cadmium yellow deep, raw sienna, burnt sienna, cadmium red deep, permanent rose, permanent violet, cobalt blue, prussian blue, and viridian green.
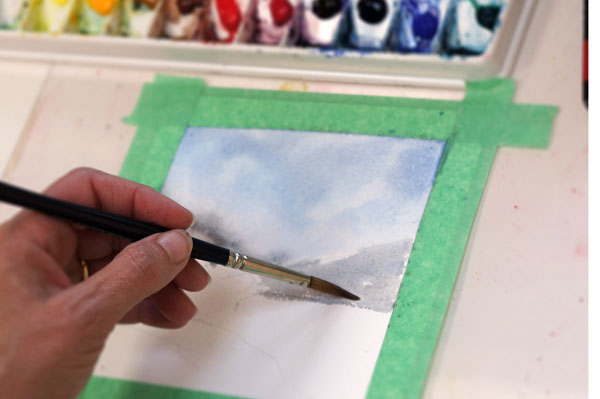
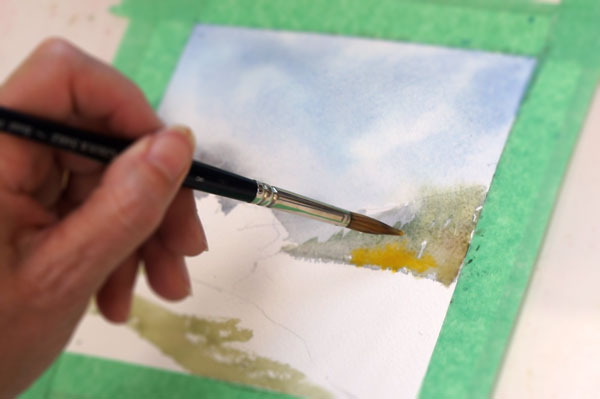
Start with the sky and wet the area with clean water, then charge in some cobalt blue mixed with a little burnt sienna. When that is almost dry you can start in on the mountains with the same mixture but add a little more burnt sienna to gray it down. Remember whenever you want to get a grayer version of your colour add it’s complement. To gray green add red, to gray orange add blue and to purple add yellow.
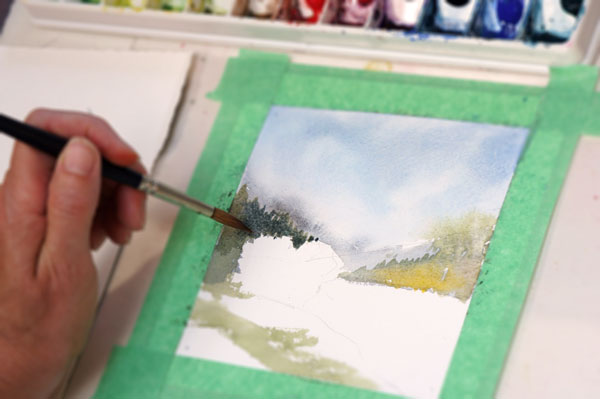
Add some green trees in front of the mountains before they are almost dry then charge in some yellow. To charge a colour add the yellow paint by touching it to the wet paper until the yellow has displaced the green. Also add the green grass in the foreground.
Next add some darks for the trees on the left side using cobalt blue, raw sienna, and prussian blue. The paper should be dry and make the tops jagged like a tree line. Also use this color to define the light tree shapes.
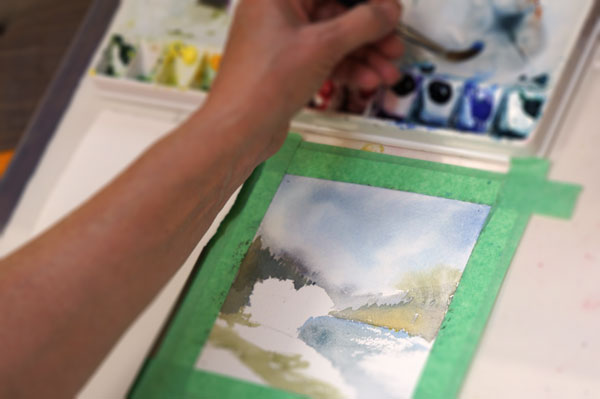
Paint the water leaving some dry brush marks on the right side. Start with a medium wet brush of cobalt blue and a little burnt sienna. Define the edge on the left then lift up to achieve the sparkles on the water.
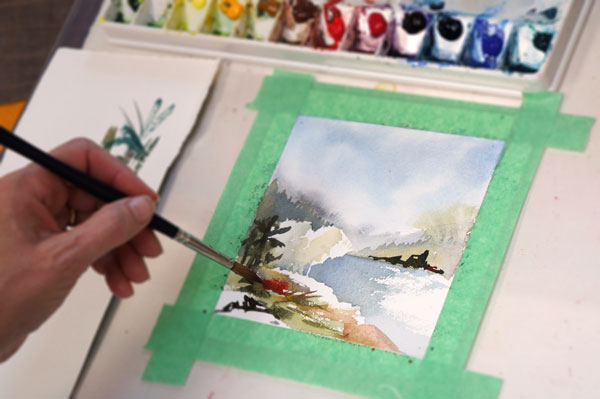
Adding the final details, dark trees on the near and far side, a little bit of light green for the trees mid-ground, and red charged into the grass.
Remove the tape and it is complete. A lovely little study.
